Sunday, July 15, 2012
Thursday, July 5, 2012
Recycled Apron
I needed a new apron, but decided to go for broke and only use fabric I already had in my stash versus going to the fabric store and purchasing some adorable new print they would have in stock......so, I dug in and found two old pair old jeans - one a lighter color then the other and some cute back pockets to use as accents.
Along with the waistband & side seams from the jeans to be used as ties and straps, the two different shades of jean material that was cut from the front and back of the leg section of both pair of jeans really added a desirable contrast for the front of the apron.....
But I did want something with a little color to it for the inside of the apron, so I found a green, dotted fabric that would contrast nicely...
I added the pockets to the front and a "Recycle"-themed patch to seal the deal!!
Thanks for checking my "Recycled- Apron" out, and, of course, if there are anything I didn't cover in the post that you may have questions about, just drop me a line :)
Till next time,
Wicked jypsi
Monday, June 25, 2012
A "Not So-Original" IIllustration....missing artist?!!
A "Not So-Original" Painting:
A few years ago I came across an adorable picture on a Google Image search for inspiring illustrations, of a little girl in a crown using her magic wand to "Poof" her frog into a prince - as of a few weeks ago, I decided to replicate the painting for practice and am posting it to my blog - HOWEVER......I am unable to find the illustration on Flickr, Google, Yahoo, etc again and would love to find out the name of the original artist to credit her/him on my blog. If anyone has any clues to help, that would be greatly appreciated!!!!!
This is the ORIGINAL illustration I found on Google:
And here is MY rendition:
Thanks for checking this out, and again, if you have any idea who the original artist may be, please give me a holler!!!!!! THANK YOU....
Till next time,
wickedjypsi
A few years ago I came across an adorable picture on a Google Image search for inspiring illustrations, of a little girl in a crown using her magic wand to "Poof" her frog into a prince - as of a few weeks ago, I decided to replicate the painting for practice and am posting it to my blog - HOWEVER......I am unable to find the illustration on Flickr, Google, Yahoo, etc again and would love to find out the name of the original artist to credit her/him on my blog. If anyone has any clues to help, that would be greatly appreciated!!!!!
This is the ORIGINAL illustration I found on Google:
![]() |
| Pretty cute, eh??? |
And here is MY rendition:
![]() |
| I wasn't able to replicate it exactly due to my current skill level : ( ...but close!! |
Thanks for checking this out, and again, if you have any idea who the original artist may be, please give me a holler!!!!!! THANK YOU....
Till next time,
wickedjypsi
Sunday, June 10, 2012
Wednesday, June 6, 2012
DIY Sticker Storage "Carousel"
I was looking at the ATC Carousels from 7 gypsies website and was enthralled with the idea of having one!
Unfortunately, my wallet was not as enthused :(
But I am a huge fan of all of their products and have been using their embellishments and collage items for quite a few years now. So, I figured they would forgive me for taking this detour and making my own home-made version of their carousel to organize my sticker collection.
Below is what I came up with:
![]() | ||||
| Pardon my messy craft table ...... |
I originally was going to make a one-tier carousel, but I found a plant stand in the back yard that,
when placed under the first tier set-up I had made, fit perfectly to provide a second tier to hold the longer stickers.
Below is what I started with to create my first tier of the carousel:
I drilled a hole the size of the dowel in the wood plaque and wood-glued the dowel inside. Then I placed the coffee cup holder on and the wire-circle and frame on the dowel so all three would sit and be stable on top of the plaque. To hold the dowel tighter, I cut it a 1/2 inch from the top of the black frame and. after drilling a small hole down into the top, I screwed a pink-diamond drawer pull from Michaels into it!
It's amazing how much better I can work when I am organized and know exactly what items I have to use!!! ** Let me know if you have any construction questions on this project!!**
Till next time,
wicked jypsi
Saturday, June 2, 2012
Custom-Made Macrame Knotting Board for jewelrymaking
I have become a Macrame addict this year!!
After these past six months, I've gotten tired of the cardboard and binder clip setup. So, I designed and made (with my own little handsies :) a custom Knotting Board to fit the needed dimensions for my Macrame designs.
Here is a mini-tutorial of the process:
Supplies:
* 1/2" -1" thick wooden board (wood type of your choosing)
* 2 large round wooden balls with a flat side and screw holes
* 1 piece of sticky-back felt (color to match paint choice )
* 1 drawer pull (to be used to tie on to hold knotting cords-
drawer pull comes with needed screw)
* 2 long flat-head screws
* Decor supplies: (see pic below)
| Gesso or white paint, crackle medium (optional) masking tape, etc. |
Instructions:
** After cutting and sanding the board, drill holes in wood and attach knobs to top/underside of the board board with the two flat-headed screws.
** Apply the stick-backed felt to the bottom, end and bottom-backside of
board (trim to fit).
** Paint board and knobs with chosen colors (use masking tape to protect
the top of the felt piece), then seal with triple-coat sealer.
** Again, drill necessary hole and attached drawer pull to top/front of board.
Following are images of the finished process:
| The top / front of the board. The felt piece along the bottom and folded on to the backside will stop the board from sliding on the surface it sits on. |
| The two knobs on the bottom will prop the board up at an angle when sitting on a table. |
| This board can be repaired if needed very easily and will last a long time!! |
Hope this helps in your jewelry-making endeavors.
ENJOY!!
wickedjypsi
Saturday, May 26, 2012
Pictures to Share.....
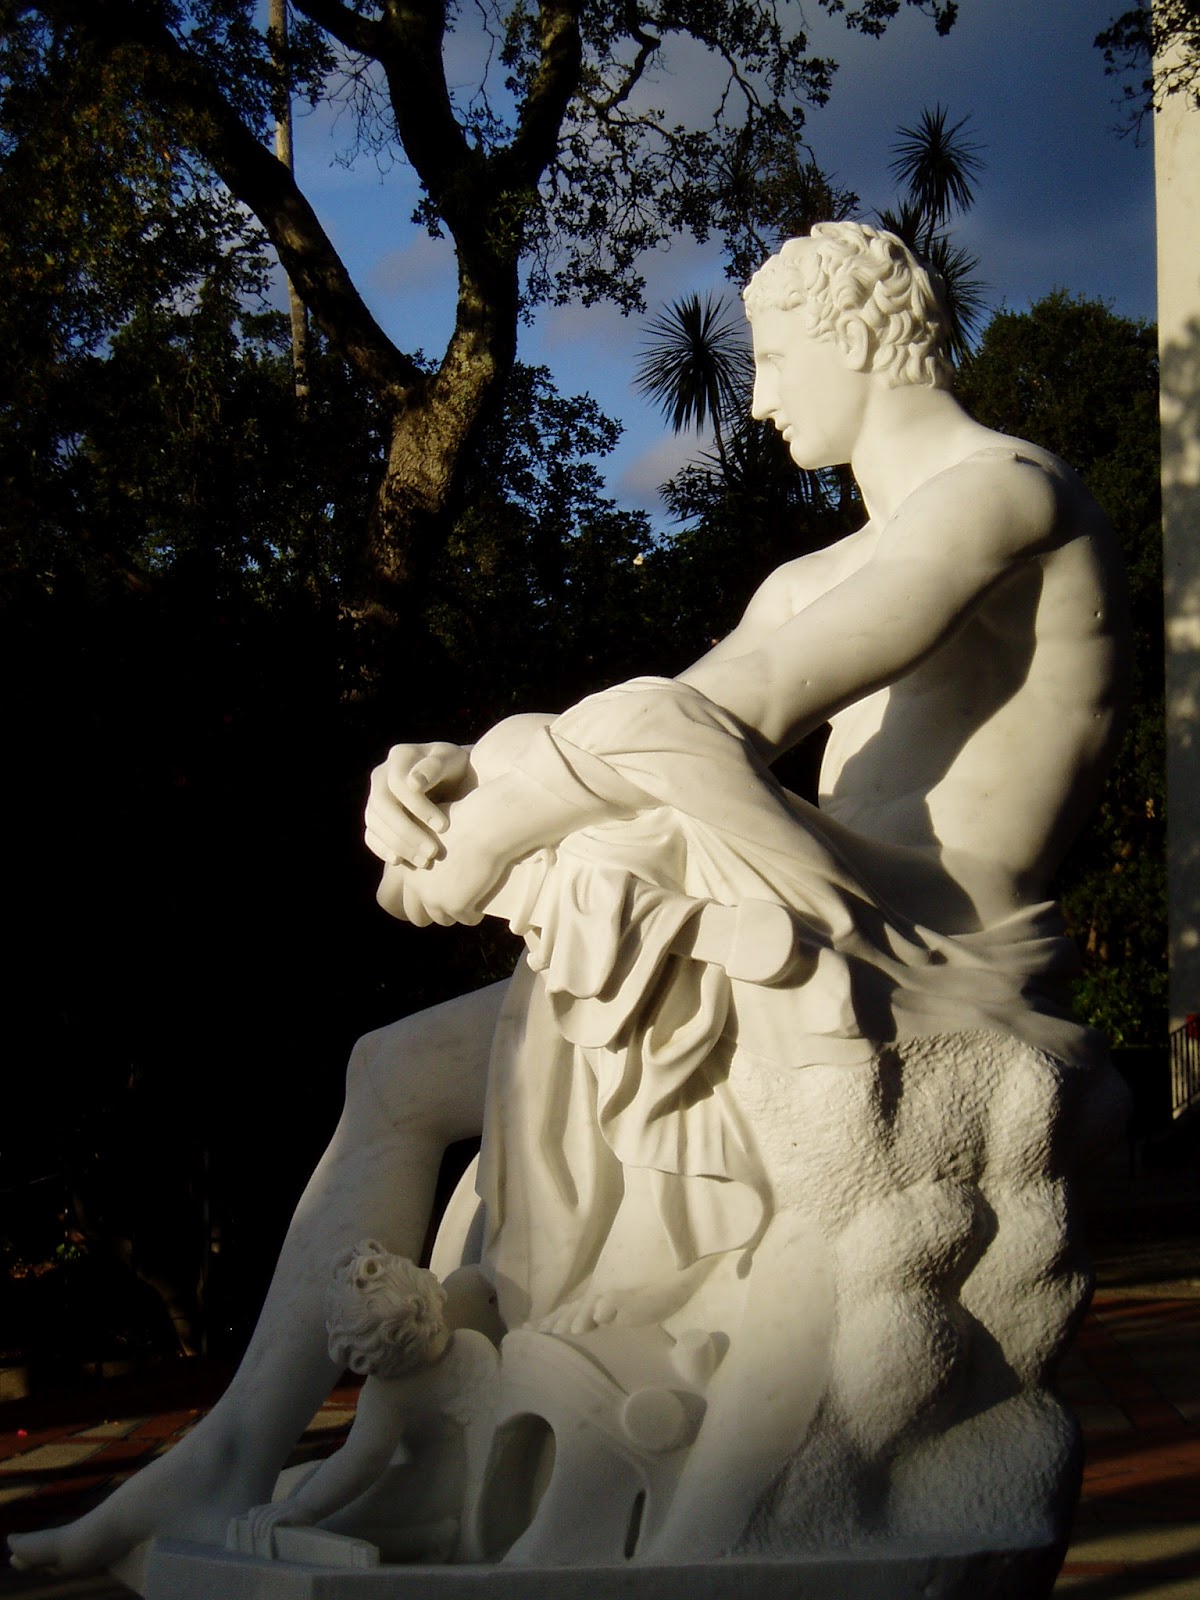
| I took this picture at The Hearst Castle visit in early spring - one of many beautiful things to see there! |
I have had the good fortune of taking trips lately that led to some beautiful photo opportunities. Following are more pictures from our visit to Hearst Castle in California!!
The view was breathtaking after you took a bus ride up to the castle along a steep hillside. The tour lasted about an hour or so, but time flew by as I tried to take as many pictures as I could !
I have been super busy with crafting and have many projects to share as I re-vamp this blog and get up to date on posting - more trip pictures to come as well!!
Till next time,
wicked jypsi
Subscribe to:
Posts (Atom)