
Halloween Door Knocker:
** Tutorial **

I came across a few pins on Pinterest that had the Door Knocker Skulls from the Dollar Store .....they had added some paint to them, but I wanted to go a little further. I knew I wanted to mount the skull on a plaque, but the plastic lining inside the skull was really thin, so I needed to figure out how to securely glue it to the wood and then dress it up as well.......
The following is a little tutorial on how I whipped up my "Skull Door Knocker" pictured above !!

A wooden plaque...size of your choosing - mine was about 13" in length to have the skull fit evenly in the middle....or thereabouts.
E600 Glue...not pictured...sorry.
Great Stuff - foam spray that is found in the plumbing aisle at the hardware store.
Dollar Store- Skull Door Knocker ...of course!
Silver and Black Spray Paint - pictured below
Silver Embellishments of your choosing.

First, I spray painted my skull and plaque......

While the paint dried, I spray the skull with the Great Stuff Foam.....FYI: a little goes a long way as it expands as it dries.......
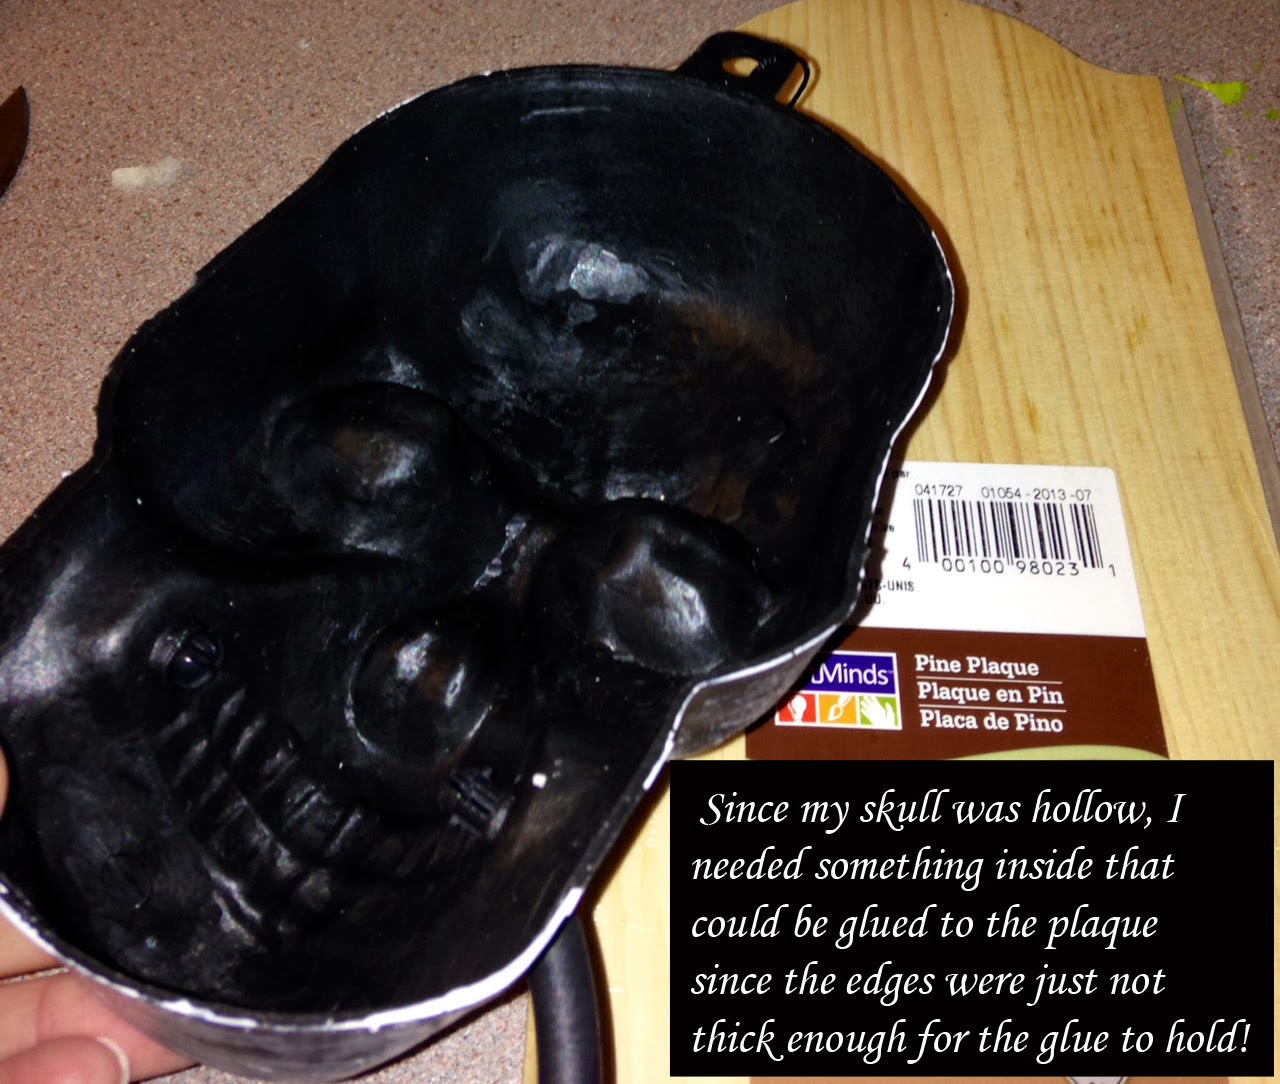

Now, the foam needs to dry for the designated time as stated in the instructions on the can.....after it has dried and expanded, it it time to cut your foam to lay even with the edges of the skull...I used a large kitchen knife and found the foam cuts really easily......the foam inside will make it easy to glue the skull to the plaque...
FYI: I was concerned at first that my E6000 would eat away at the foam as it does Styrofoam...but there was no such problem with the Great Stuff Foam...so no worries!!

From here on out....its up to you....Glue your skull where you want it on the wooden plaque and add any embellishments at this point....
Then hang it up and Be Proud!!!!!
 |
| "Knock if you dare......." |
What an awesome idea! Quite creepy :)
ReplyDeleteThank you so much Stephanie!! It was a fun project!!
ReplyDelete